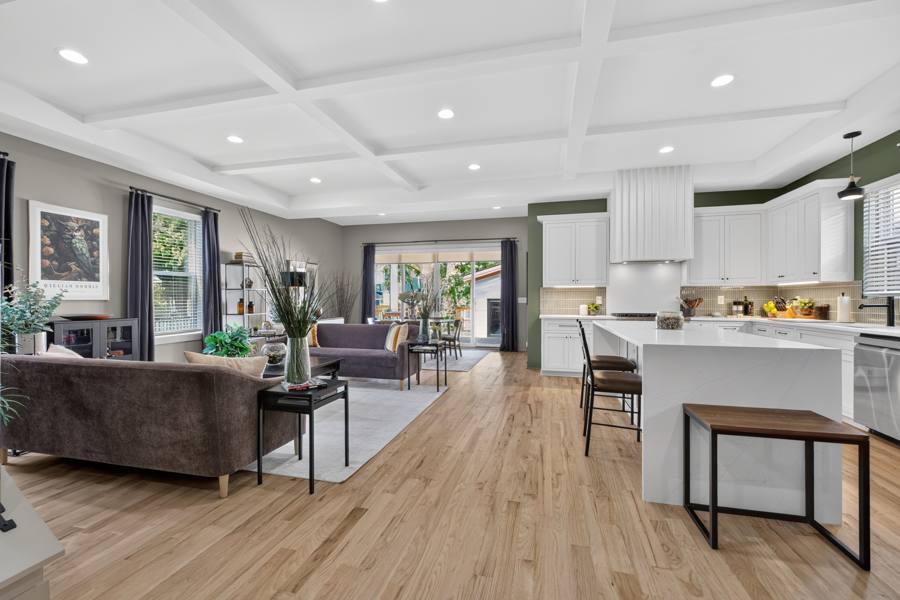

Painting kitchen cabinets is one of the biggest changes you can make to a home for the money. It is also one of the easiest jobs to get wrong. A good cabinet finish is almost all preparation, and these photos from a recent refinish show what that looks like.
1. Protect the whole kitchen
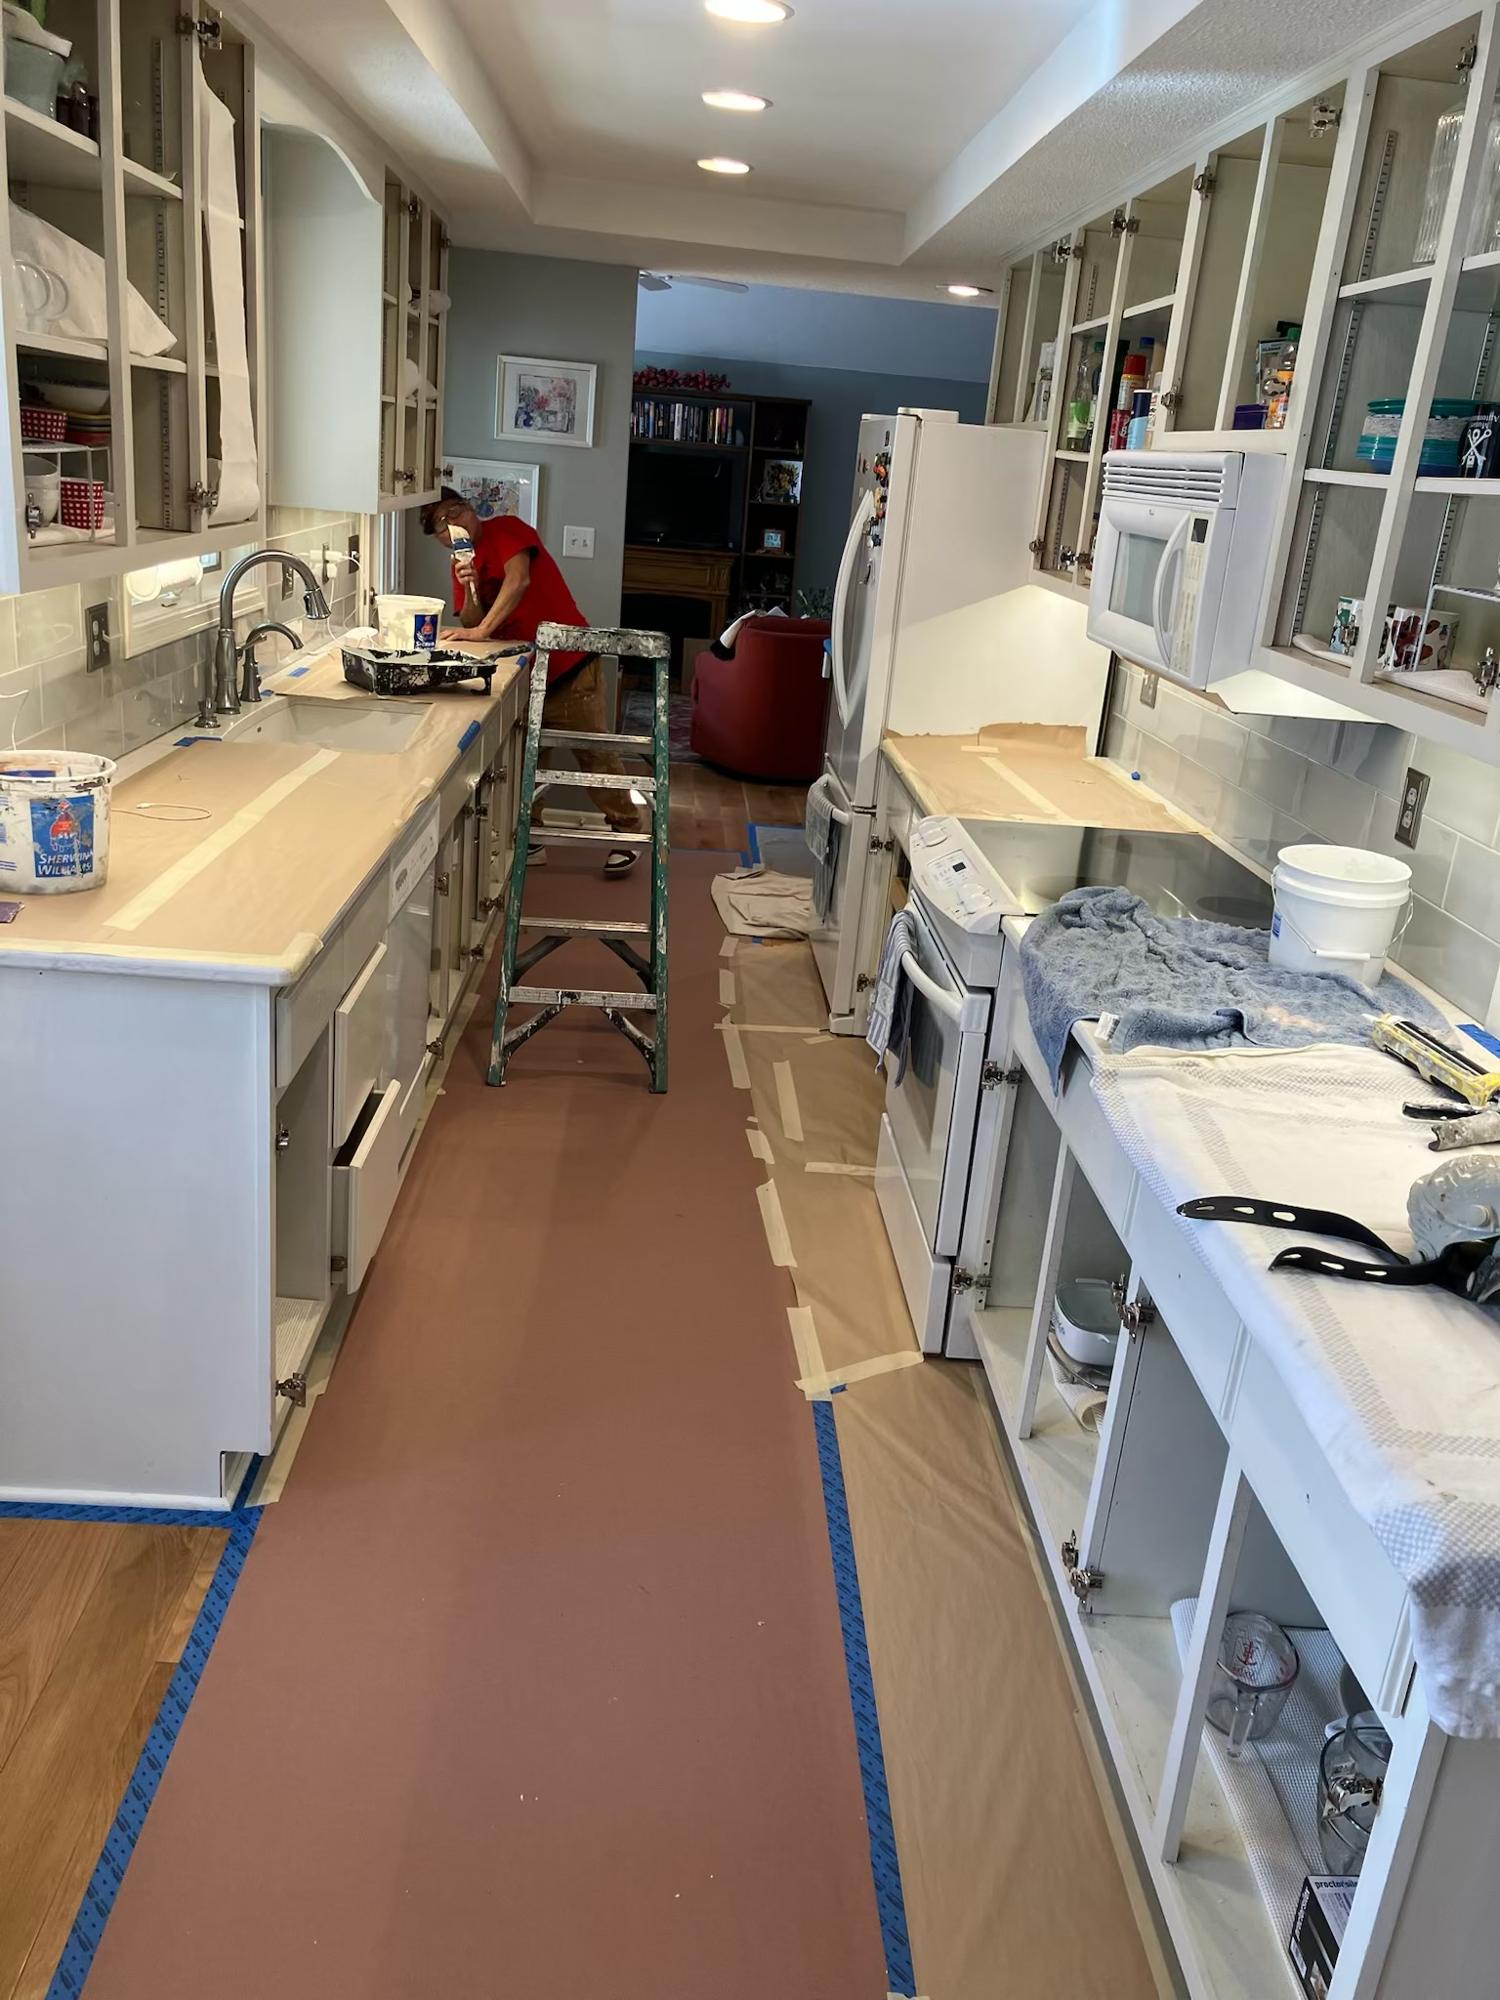
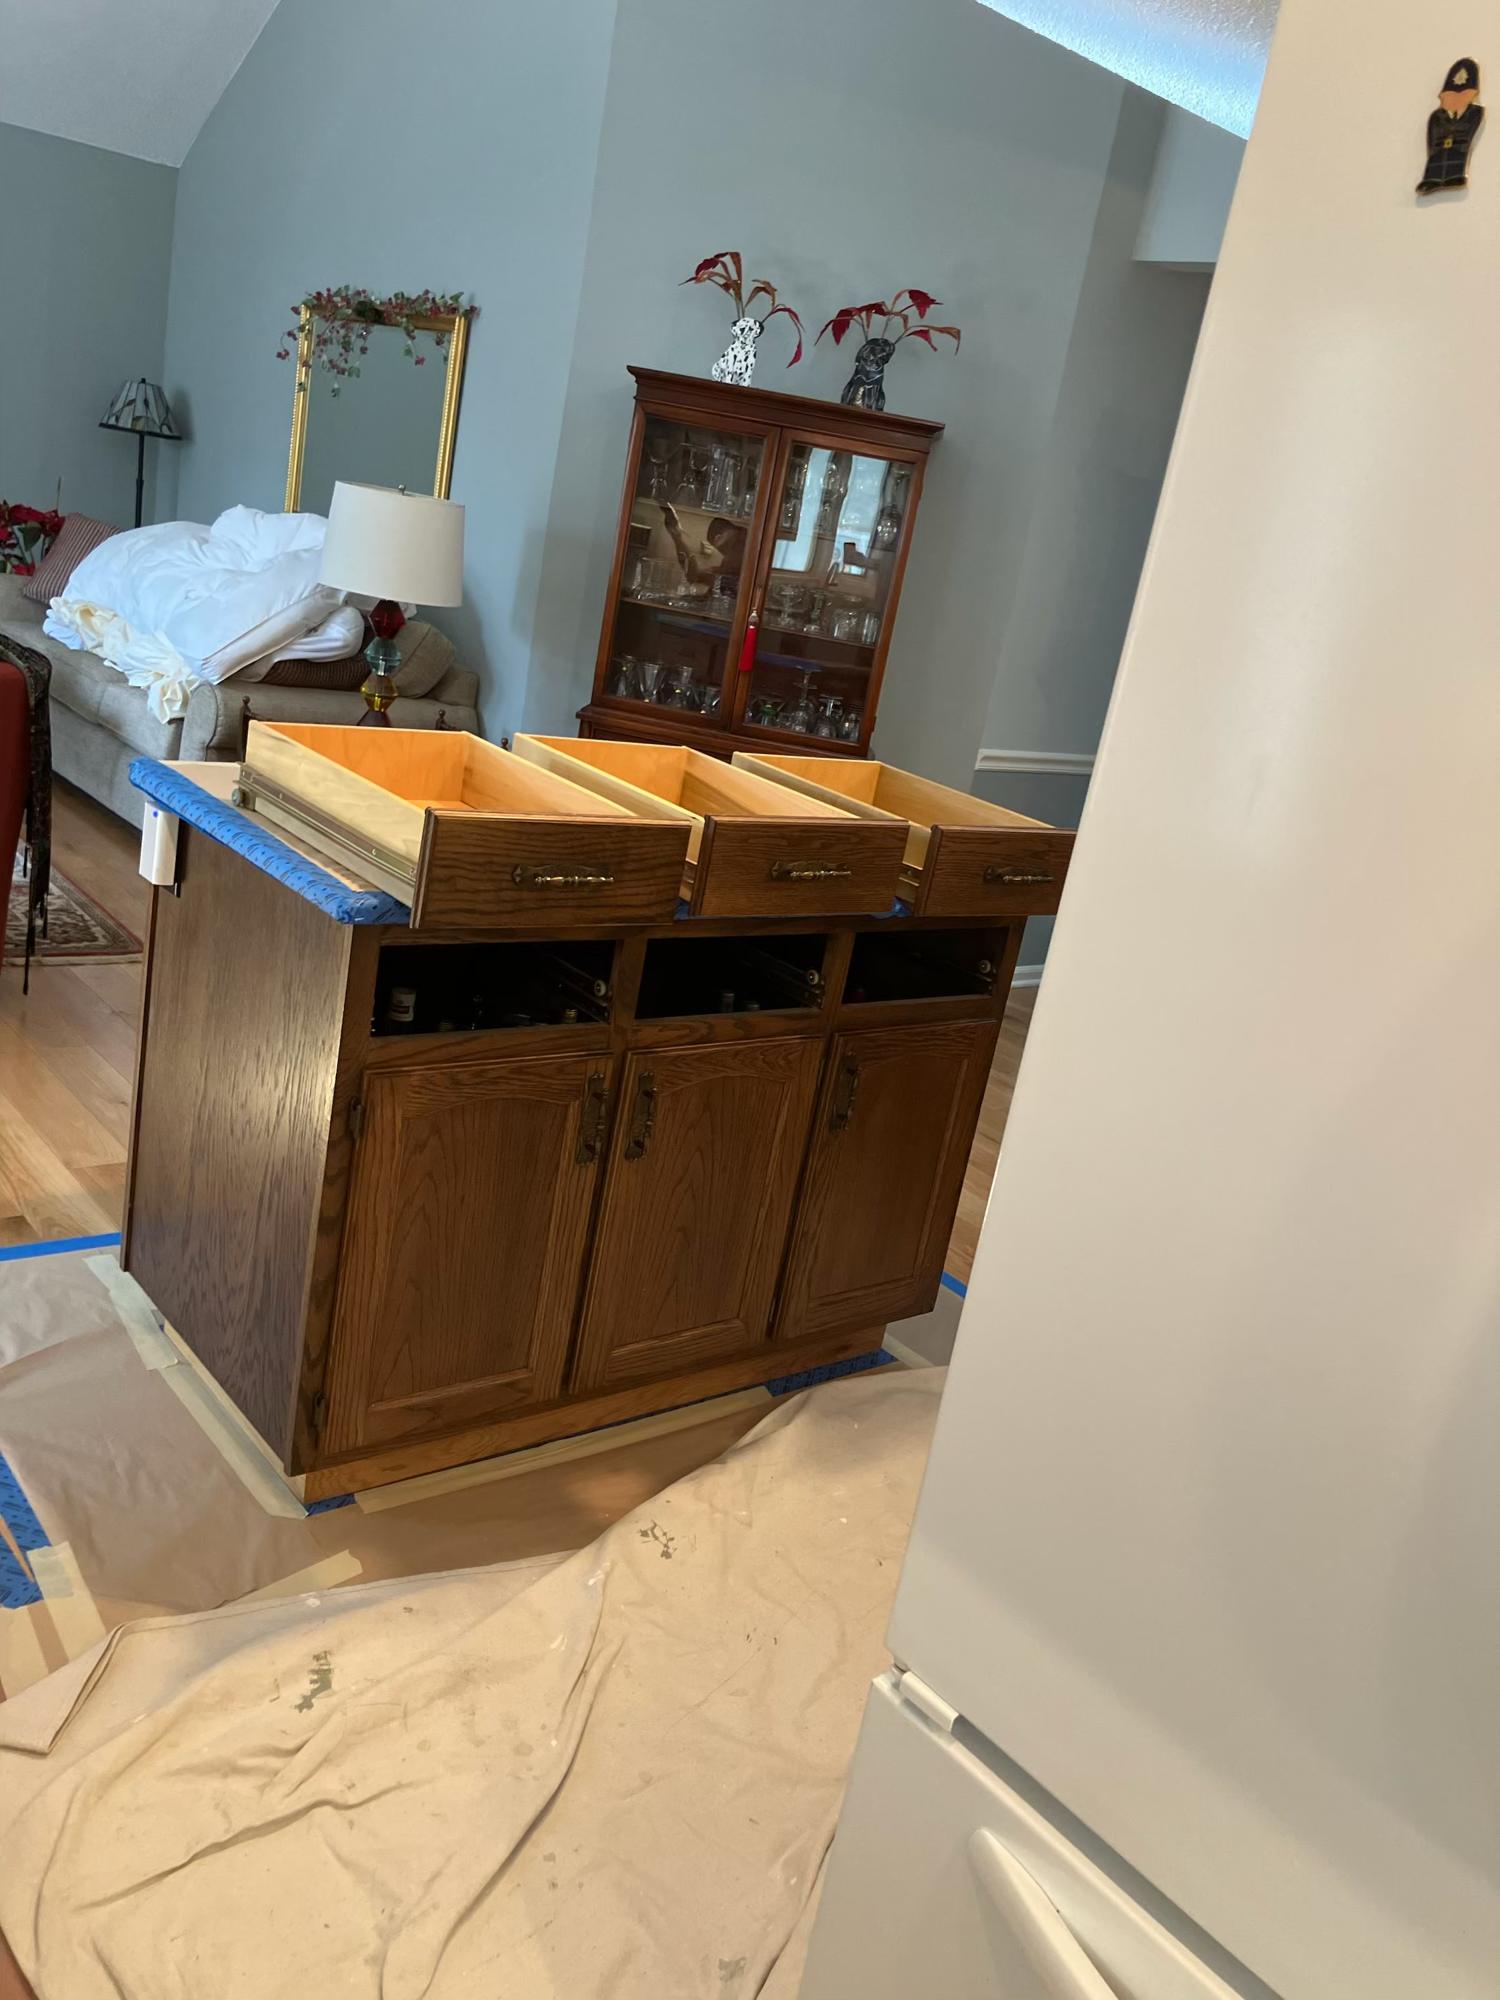
Before anything comes off the wall, floors, counters, appliances and backsplash get covered and taped. The cabinet boxes stay in place, so the kitchen needs to be sealed up tight while they are prepped and painted.
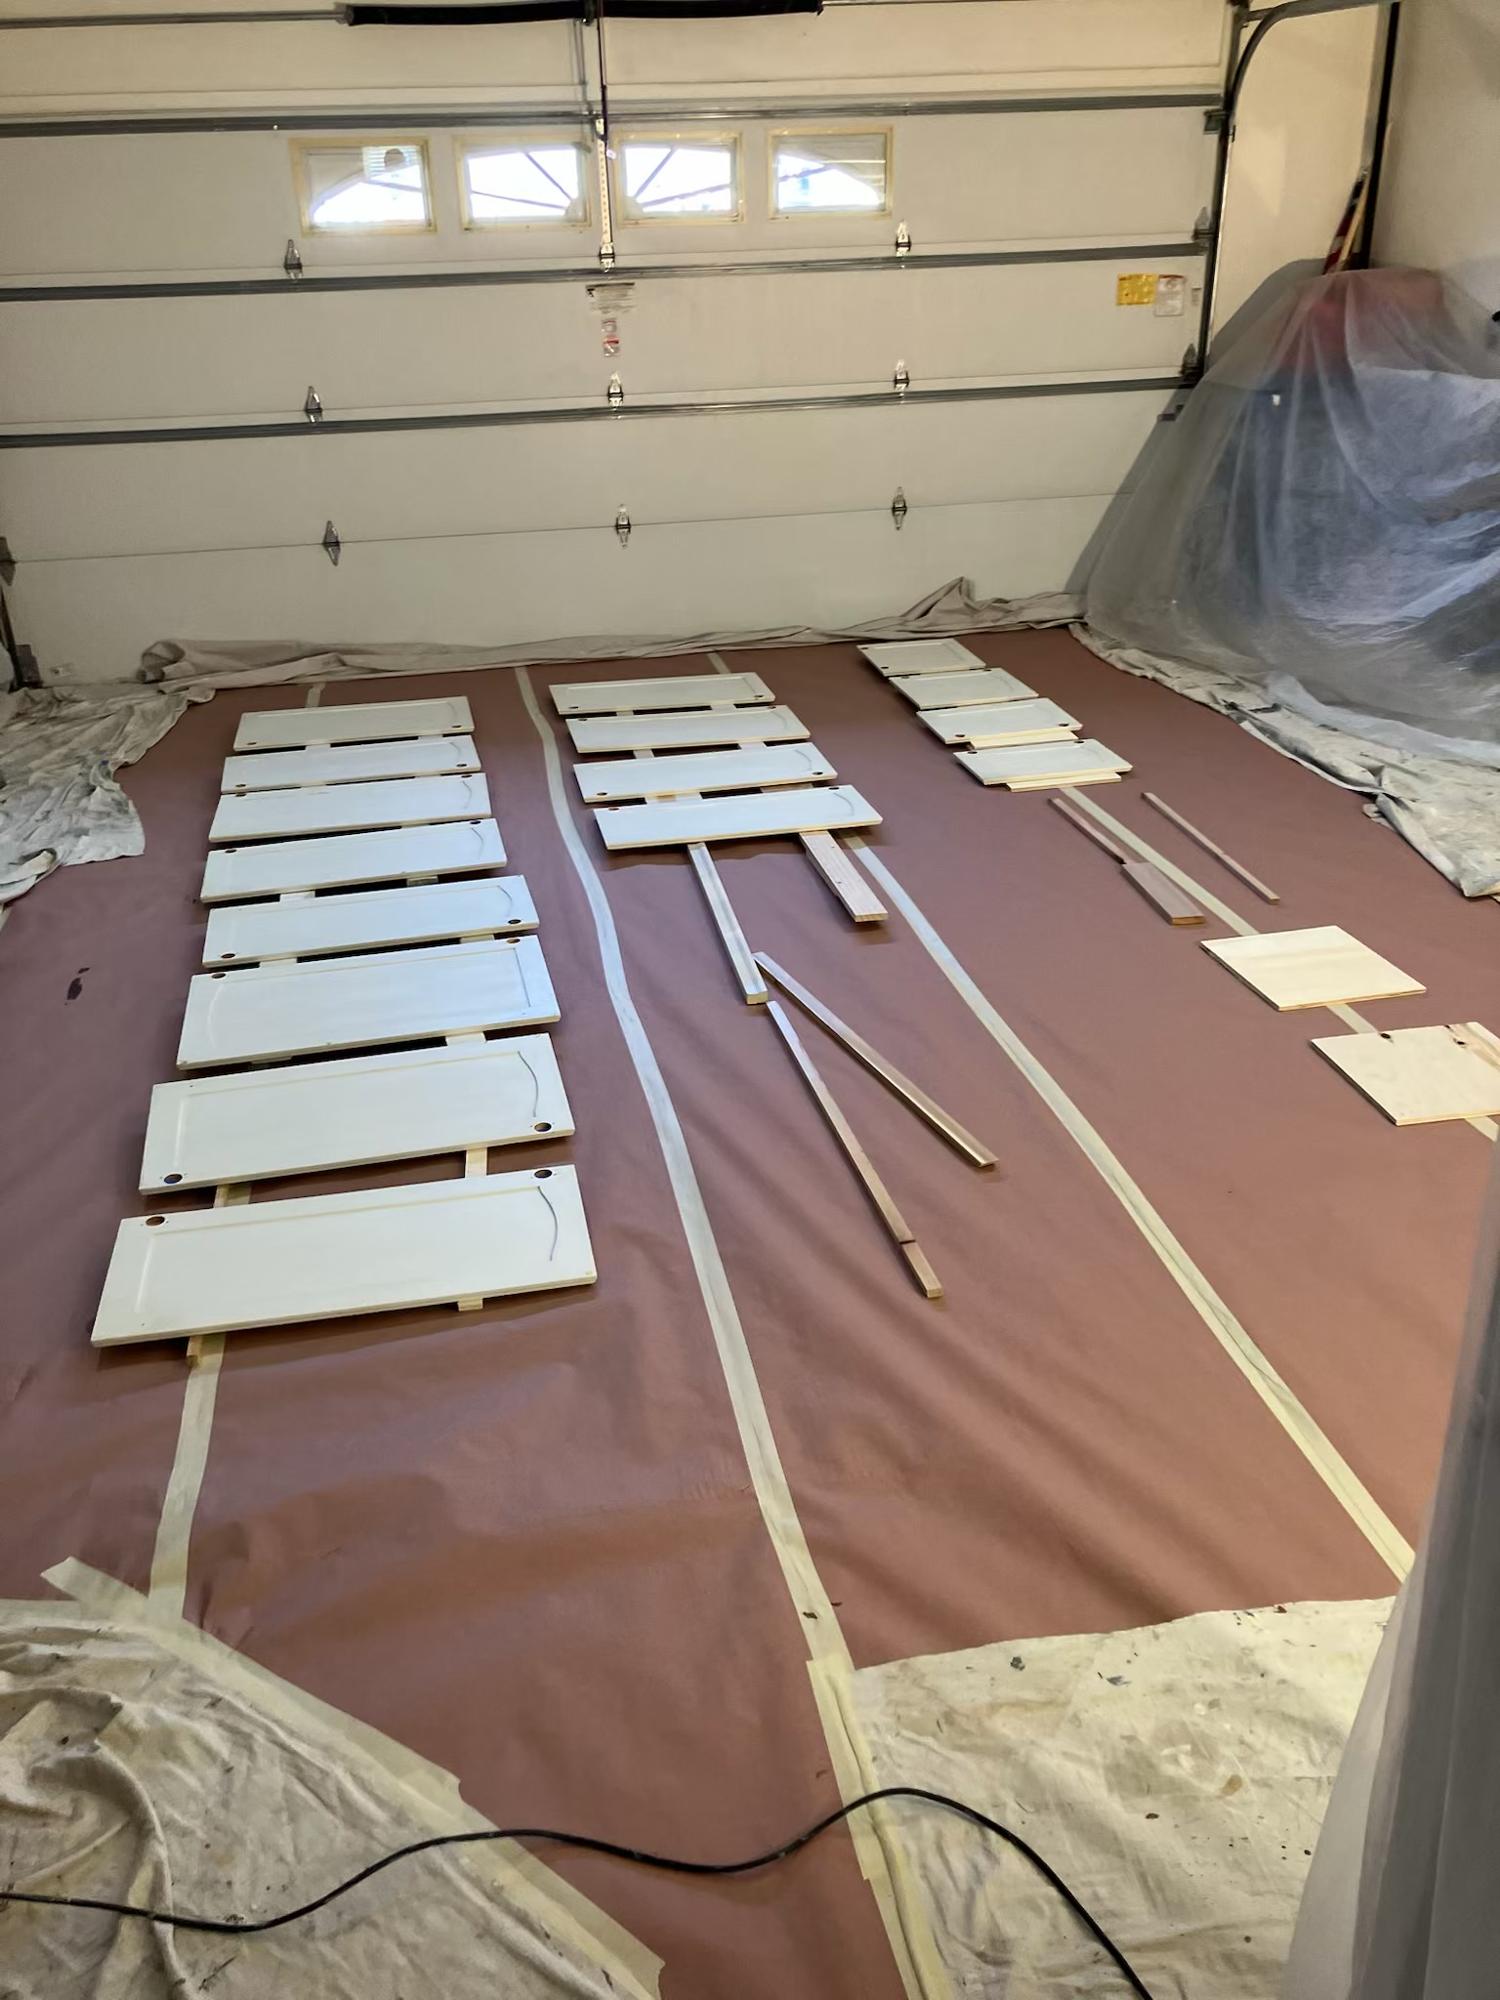
2. Remove and label every door and drawer
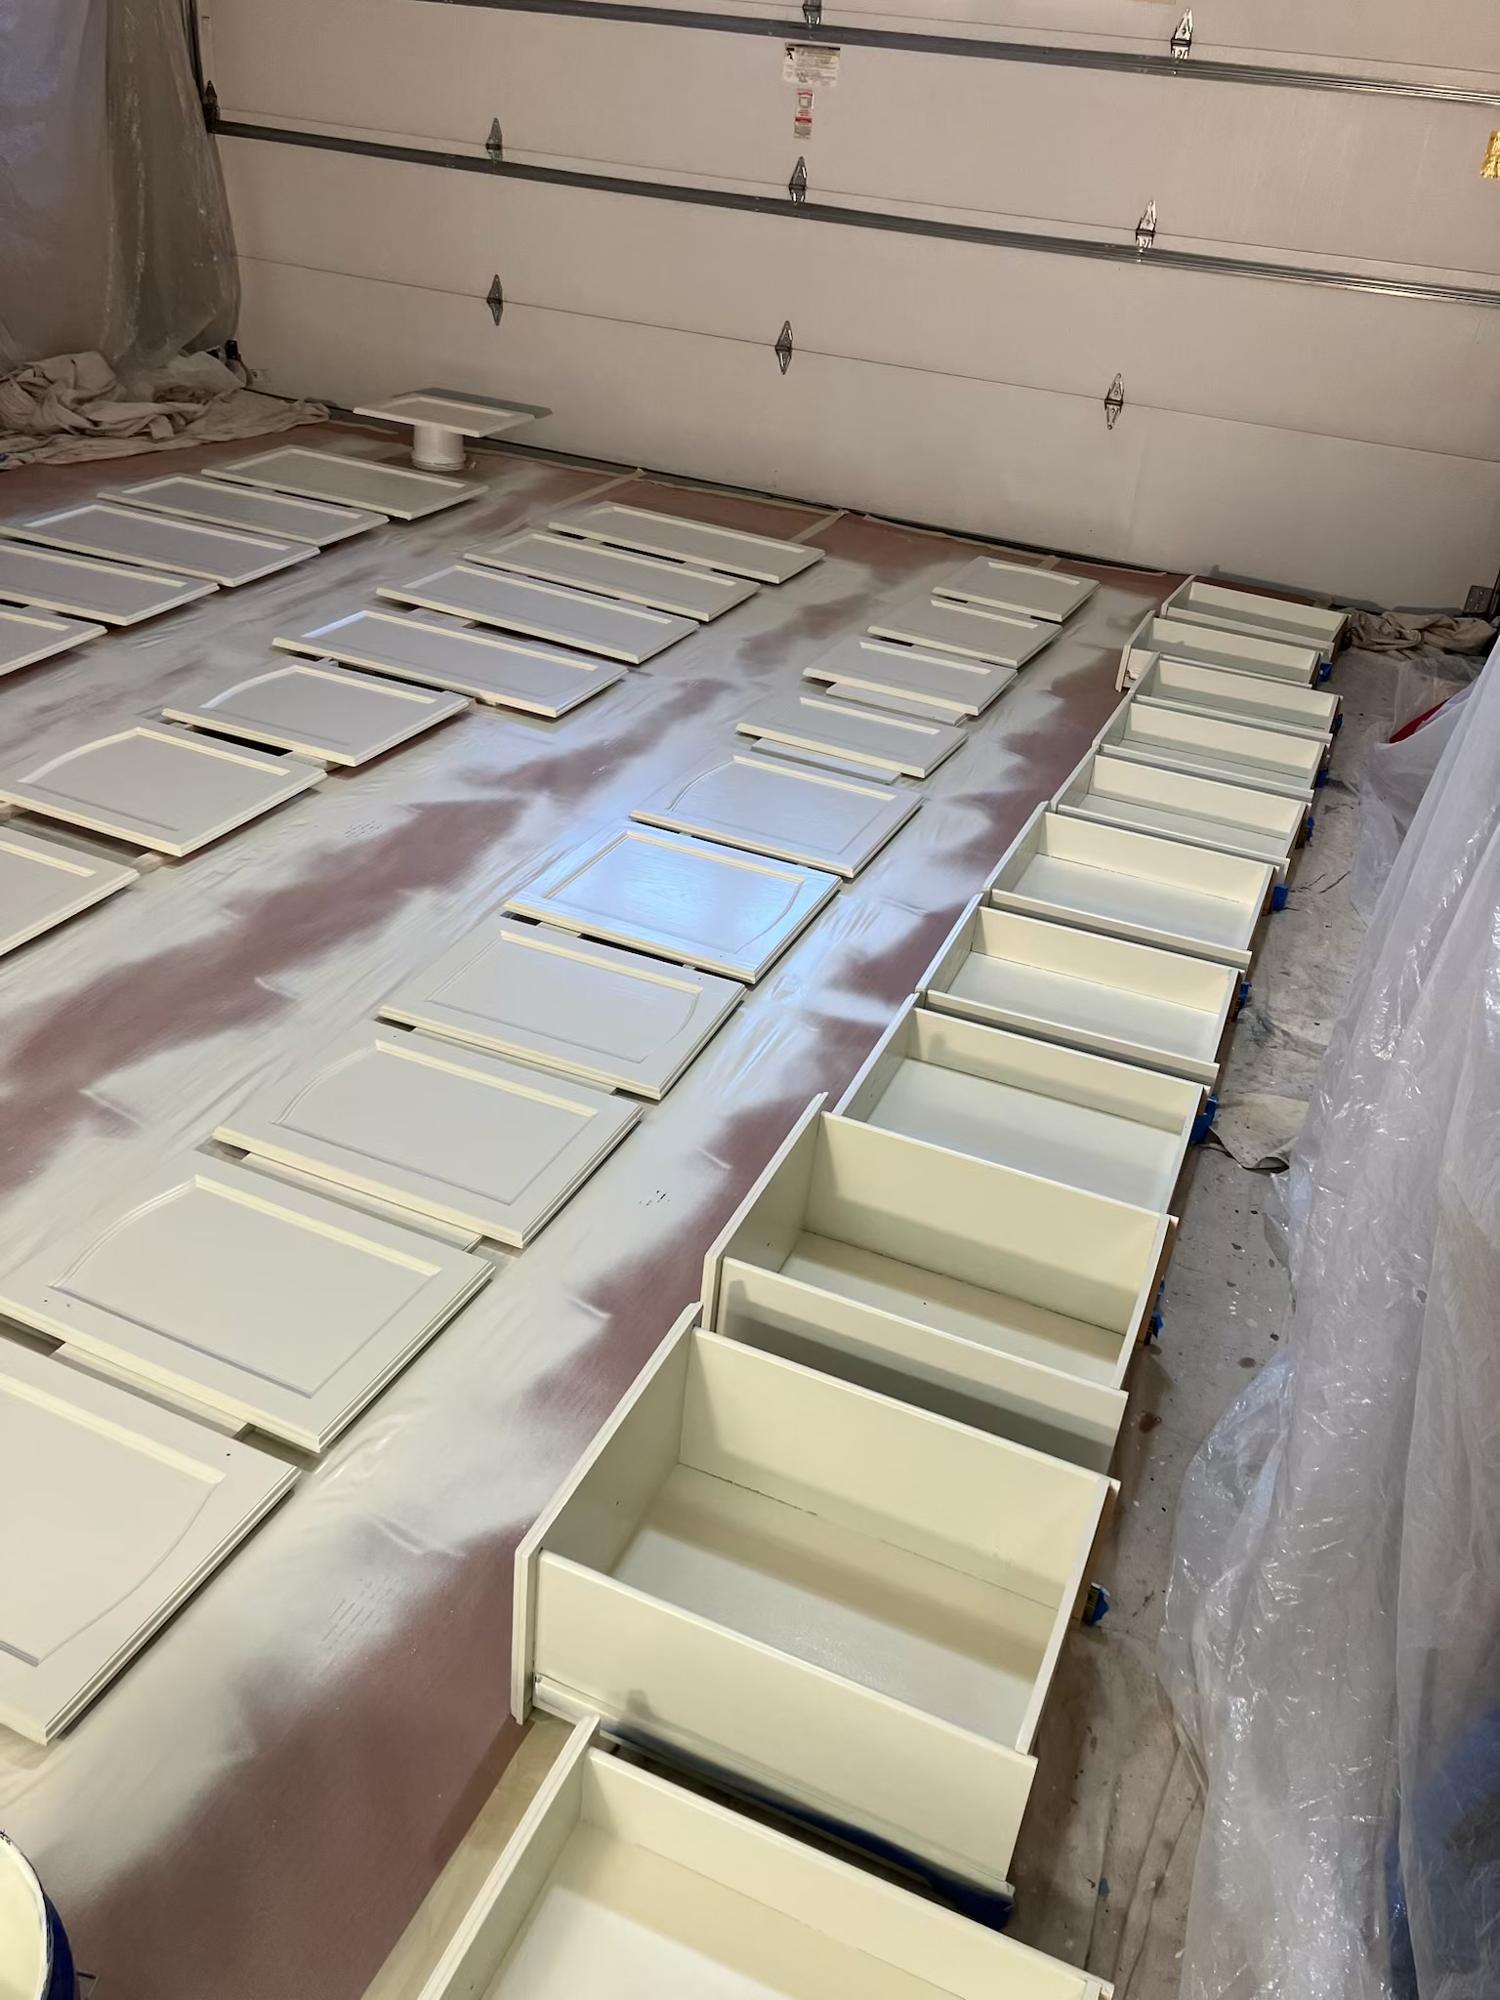
Doors, drawer fronts and hardware come off and are labeled so every piece goes back exactly where it came from. They are laid out in order on a protected floor, which keeps the job organized and makes sure nothing gets mixed up.
3. Clean, sand and prime
Kitchen cabinets collect grease and residue that paint will not stick to. Every surface is cleaned and degreased, then lightly sanded so the primer can grip. A bonding primer goes on next. This is the step that decides whether the finish lasts for years or starts chipping in months.
4. Spray in a controlled space
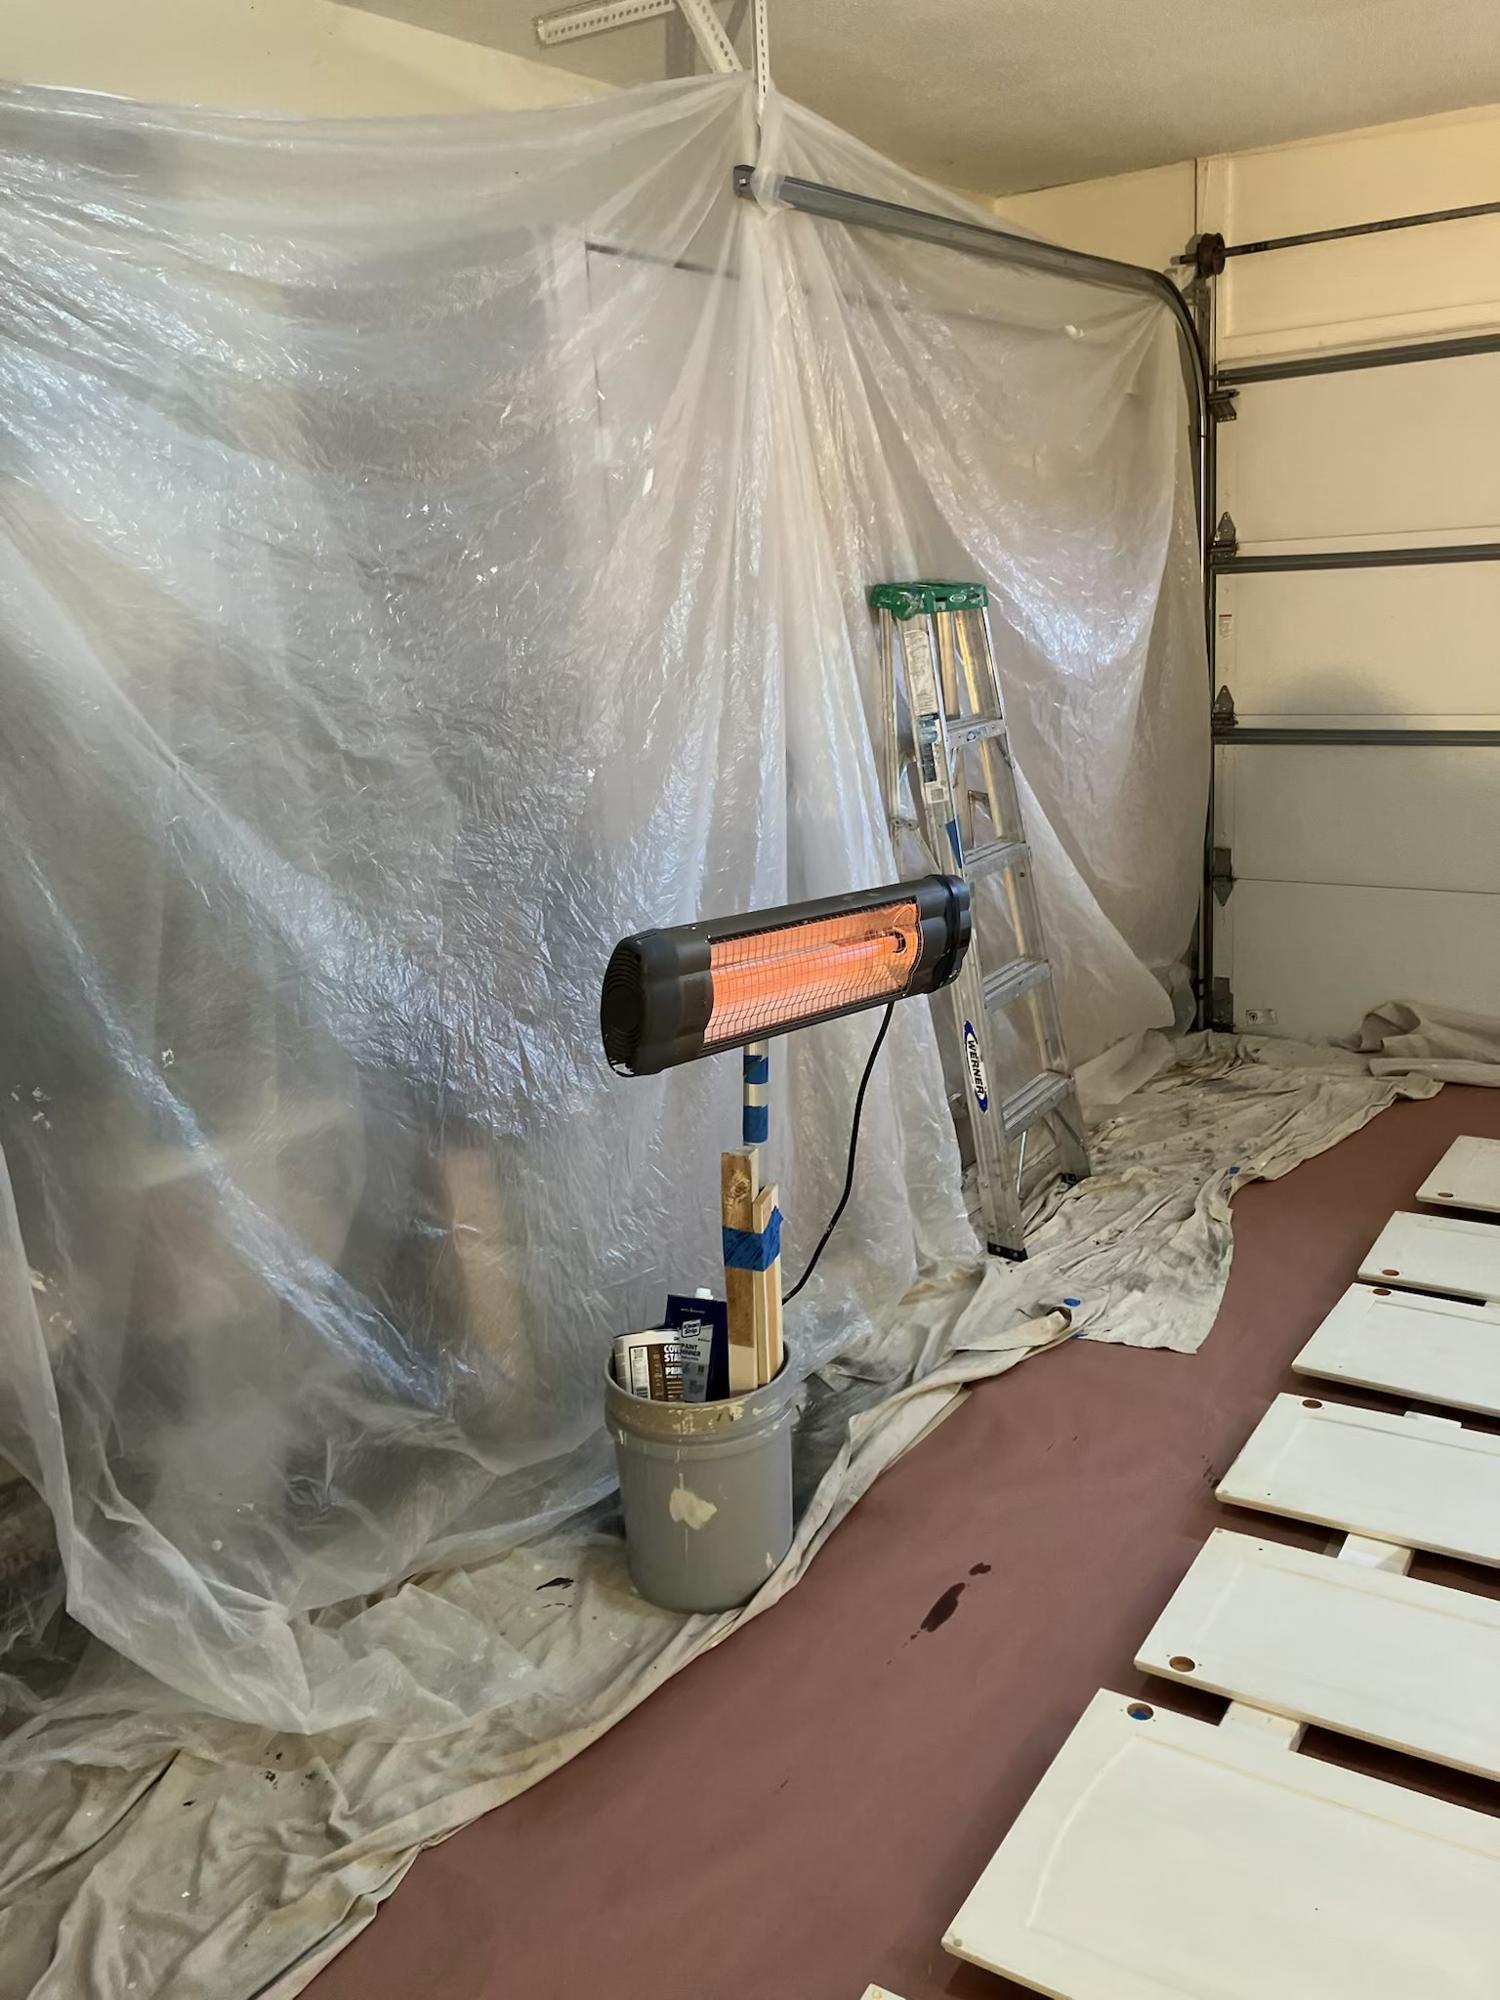
For the smoothest finish, doors and drawers are sprayed in a sealed-off area with plastic walls and temperature control. Keeping dust out and the air warm helps the paint flow out evenly and dry the way it should. A durable cabinet and trim enamel, such as Sherwin-Williams Emerald Urethane Trim Enamel, gives a hard, washable surface that holds up to daily use.
5. Let it cure, then reinstall
Paint can feel dry to the touch long before it is fully hard. Each piece is given time to cure before it is handled and rehung, so the finish does not get marked up on day one. Then the hardware goes back on, doors are adjusted, and the protection comes down.
Is it right for your kitchen?
If your cabinet boxes are solid and you like the layout, refinishing can give you a fresh kitchen without the cost and disruption of a remodel. Dan can look at your cabinets during a free consultation and tell you honestly whether they are good candidates.
Ready for a free consultation?
Dan will come to your home, walk the space with you and give you honest advice. No cost, no pressure.